Time Needed
- 15 mins
Tools
- Needle nose pliers
- Prop wrench or socket set
- Block of wood
- Razor knife
- Flashlight
Difficulty
- Easy
Materials
Cost
- Depends on prop (ours cost about $250)
There may be lots of different reasons why you might want to change out the prop on your outboard or sterndrive. It might be damaged, it may possibly be the wrong size or pitch for your boat, or you may be swapping from aluminum to a stainless-steel prop. Regardless the reason, the way that you go about the job will be the same and is something even a novice DIY’er with a basic set of tools can accomplish in less than a half hour.
You’ve got this! Here’s all you need to know.
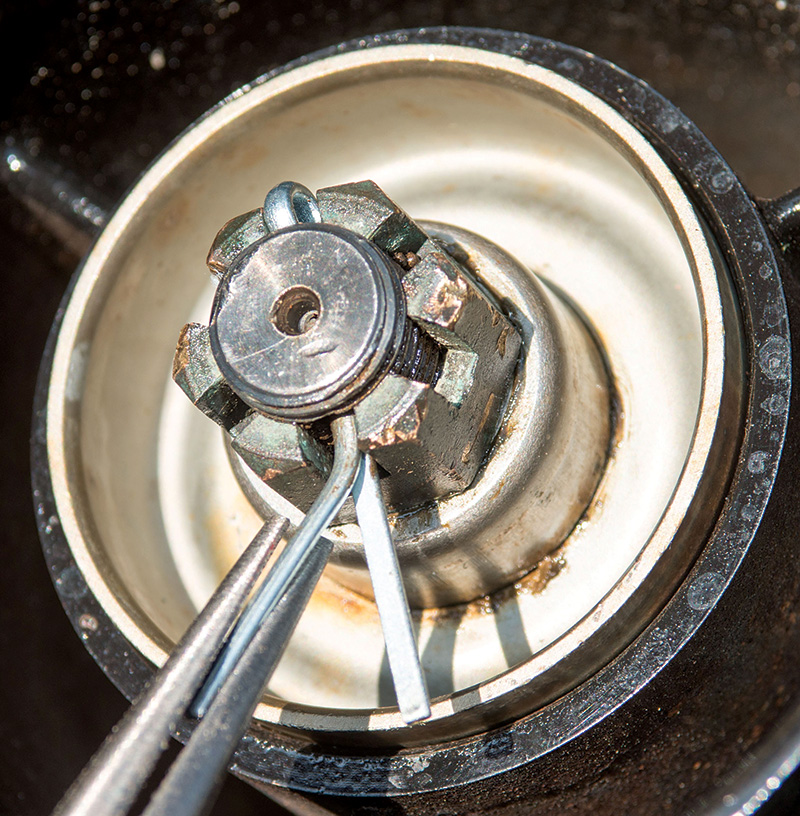
1. Remove the Cotter Pin
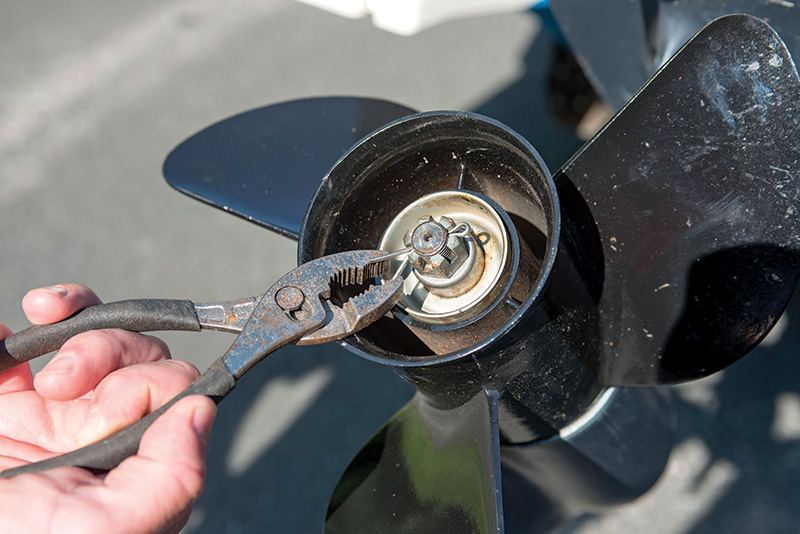
With the engine tilted up to a convenient working height, the first step is to remove the cotter pin that prevents the prop nut from coming undone. Use a pair of pliers to straighten out the legs of the cotter pin before pulling it out. The cotter pin will not be reused so can be discarded.
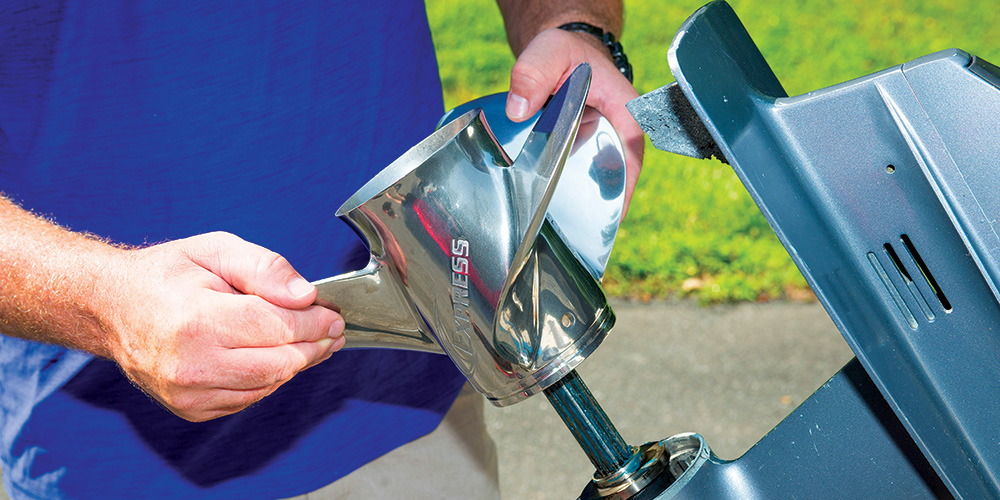
2. Unscrew the Propeller Nut
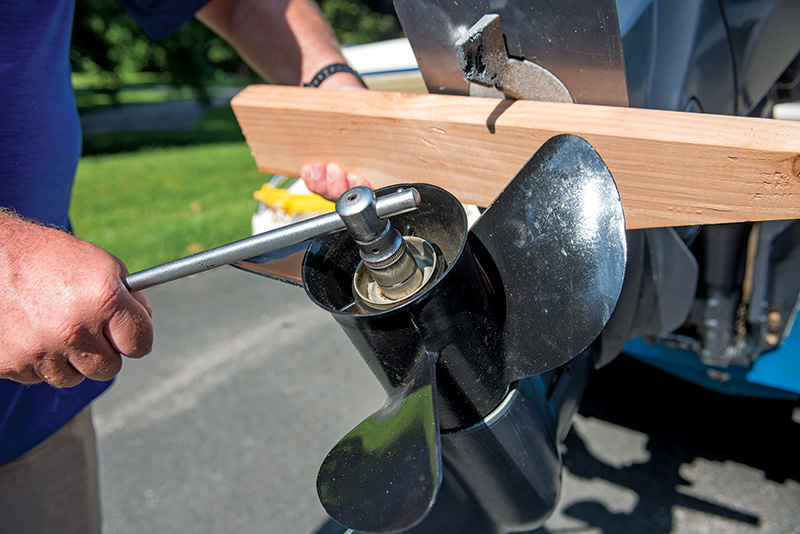
Unscrew the propeller nut with a suitable socket. Note that you’ll need to wedge a block of wood between the prop blades and the cavitation plate to prevent the prop from turning as you loosen the nut.
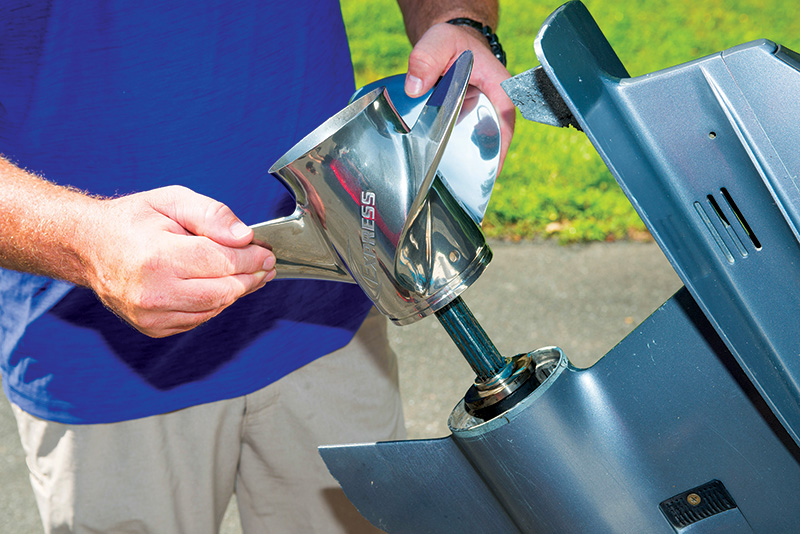
3. Slide the Prop Off the Shaft
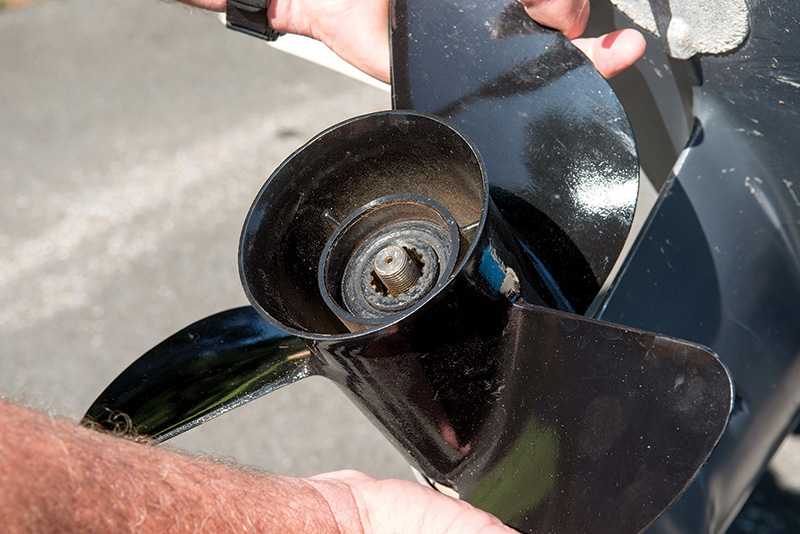
Remove the nut and washer then pull the prop off the splined shaft. The prop should slide right off but if it’s been in place for many years it may require a light tap on the forward face of the prop with the wooden block to remove it.
4. Clean and Inspect the Shaft
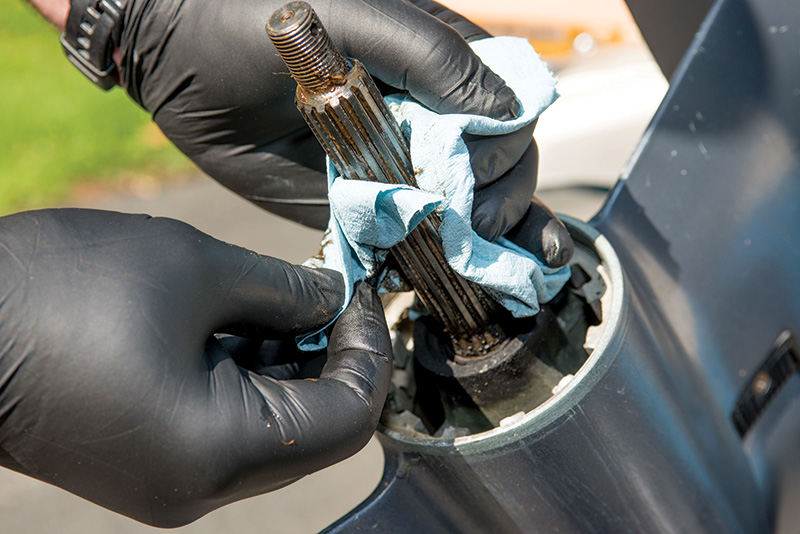
Put the prop to one side then wipe the splined shaft with a clean rag and check for any signs of wear.
5. Remove the Thrust Washer
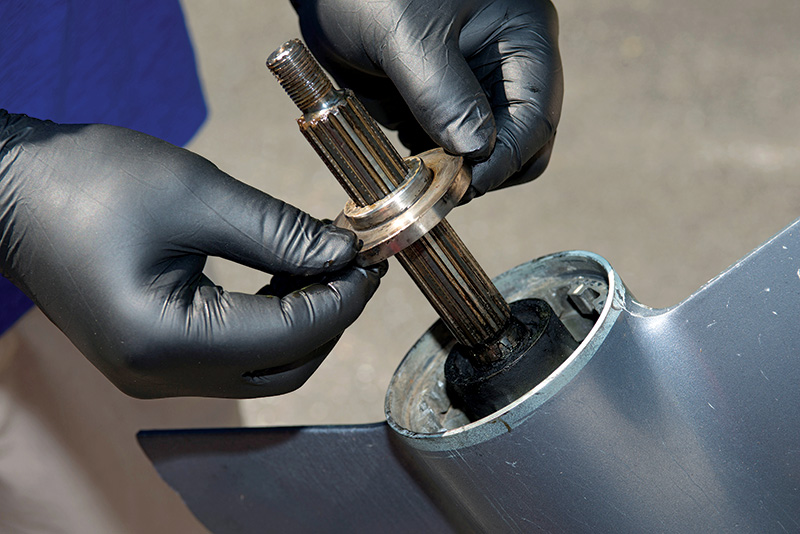
Remove the thrust washer, noting that it often has a step in it which faces the propeller. This washer, like the prop, should slide easily off the shaft.
6. Check for Fishing Line Wrapped Around the Shaft
Now’s a great time to check that there’s no monofilament fishing line wrapped around the prop shaft that can damage seals and bearings. If fishing line is present, cut it free with a sharp razor knife.
7. Grease the Shaft
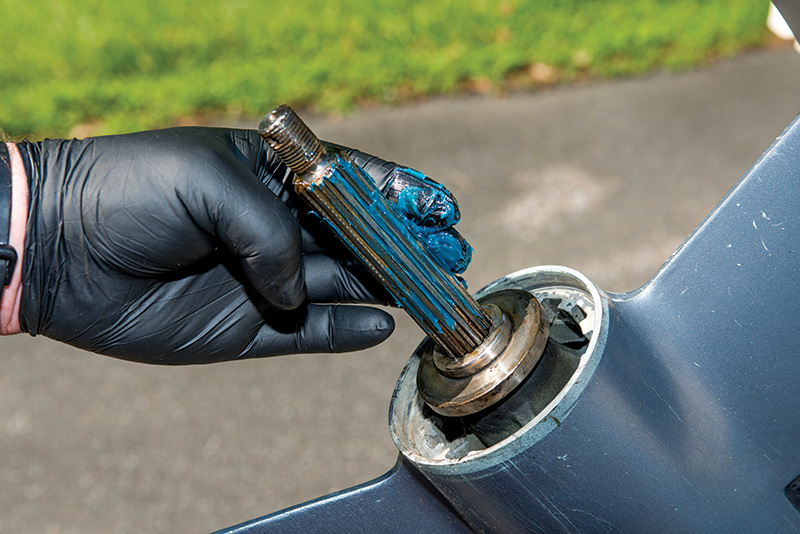
Smear on a little waterproof grease. Use only that recommended by the manufacturer and on no account use any grease containing graphite. (Graphite is one of the most noble of metals in the galvanic scale and can quickly lead to severe corrosion of the outboard leg.)
8. Put on the New Prop
Replacement is a straight reversal of the removal procedure: Slide on the thrust washer followed by the new prop, prop washer and nut.
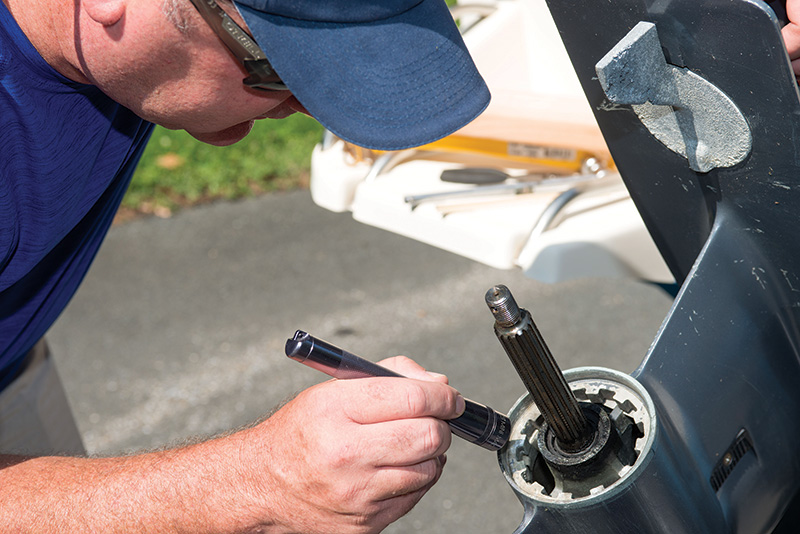
9. Tighten the Nut
Tighten the nut ensuring that the hole in the shaft aligns with one of the slots in the castellated nut. Either tighten the nut to the correct torque setting, as specified by the manufacturer, or use a special prop wrench which will ensure that the nut is not overtightened. Use a new, suitably sized, cotter pin passing it through the shaft before bending up the tails to lock the nut in position.
This article was reprinted with permission from BoatU.S. Magazine, flagship publication of the membership organization Boat Owners Association of The United States (BoatU.S.). For more expert articles and videos to make your boating, sailing, or fishing better, visit BoatUS.com.


