Replacing an internal halyard can seem intimidating the first time you attempt it. Unlike externally run halyards that remain visible from masthead to deck, internal halyards travel through the mast extrusion, around sheaves, and through exit plates where they cannot be seen. If a halyard is removed improperly, the replacement process can become significantly more difficult and may require pulling the mast or sending someone aloft to rerun the line.
The good news is that replacing a halyard can be straightforward when proper rigging techniques are followed. One of the most effective methods is incorporating a reeving eye into the bitter end of the halyard. A reeving eye creates a smooth, low-profile connection point that allows a messenger line or replacement halyard to be pulled through the mast without snagging on internal hardware.
What Is a Halyard?
A halyard is the line used to raise, lower, and tension a sail. On modern sailboats, separate halyards are typically used for the mainsail, jib, genoa, spinnaker, asymmetrical sail, and specialty sails. Halyards experience constant loading, UV exposure, abrasion, and flexing around masthead sheaves, making periodic inspection and replacement an important part of rig maintenance.
Common signs a halyard should be replaced include:
- Visible cover wear or chafe
- Flattened or hardened sections
- Core exposure
- UV degradation and discoloration
- Loss of strength due to age
- Excessive stretch affecting sail shape
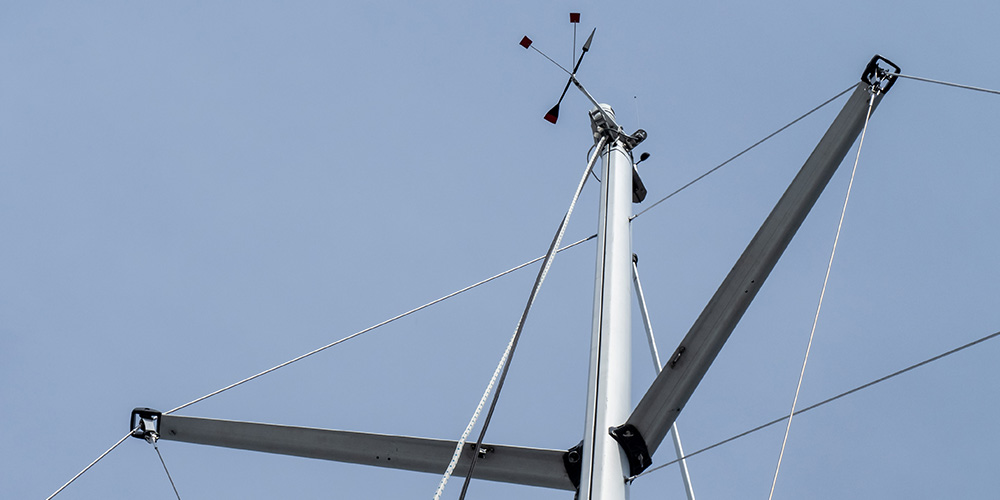
Why Internal Halyards Can Be Challenging
Most modern cruising and racing sailboats route halyards inside the mast to reduce windage, minimize noise, and improve aesthetics. While internal routing offers advantages, it also creates challenges during replacement because the line cannot simply be removed and reinstalled without maintaining a path through the mast.
Potential obstacles inside a mast include:
- Masthead sheaves
- Exit boxes and organizers
- Internal wiring harnesses
- Spreader attachment points
- Messenger line crossings
- Standing rigging attachment hardware
Without a continuous connection during replacement, the new halyard may become impossible to route without additional rigging work.
What Is a Reeving Eye?
A reeving eye is a compact splice formed at the bitter end of a line specifically for pulling another line through a confined space. Unlike a bulky knot or taped connection, a properly constructed reeving eye creates a smooth transition that passes more easily through sheaves, exit plates, turning blocks, and mast openings.
Professional riggers frequently incorporate reeving eyes into halyards because they simplify future maintenance and reduce the likelihood of losing a messenger line inside the mast.
Step-by-Step Halyard Replacement Process
Step 1: Inspect the Existing Halyard
Before removal, inspect the entire length of the existing halyard. Determine whether the line is still strong enough to safely pull a replacement through the mast. Severely damaged halyards should be handled carefully to prevent failure during extraction.
Step 2: Prepare a Messenger Line
A messenger line serves as a temporary pathway through the mast. It should be strong enough to withstand pulling loads yet small enough to pass freely through sheaves and mast openings.
Many riggers use lightweight braided line that is highly visible and resistant to tangling.
Step 3: Connect Using a Reeving Eye
The messenger line can be attached through a reeving eye splice or connected directly to the replacement halyard. The goal is creating the smallest, smoothest transition possible to prevent snagging during the pull.
Common connection methods include:
- Reeving eye splice
- Sewn connection
- Tapered whipping
- Carefully taped transitions
Step 4: Pull the Line Through Slowly
Apply steady tension while monitoring resistance. If unusual resistance is encountered, stop immediately and investigate. Forcing a connection through a mast can cause it to separate or become lodged inside the spar.
Step 5: Install the New Halyard
Once the messenger line is successfully routed, use it to pull the replacement halyard through the mast. Confirm that the line runs freely over the masthead sheave and through all deck organizers, clutches, and winches.
Step 6: Verify Proper Routing
Before loading the halyard under sail, verify that:
- The line is not twisted
- The halyard runs freely
- The cover is not damaged during installation
- The line seats properly on sheaves
- Clutches and winches grip correctly
Choosing the Right Replacement Halyard
Modern halyards are available in several fiber constructions, each offering different performance characteristics.
Polyester Halyards
Polyester remains a popular cruising choice because of its durability, UV resistance, and affordability. It offers moderate stretch characteristics suitable for many recreational sailors.
Dyneema® and HMPE Halyards
High-modulus polyethylene fibers such as Dyneema® provide extremely low stretch and exceptional strength-to-weight ratios. These lines are common on performance cruising and racing boats where maintaining sail shape is critical.
Technora® and Aramid Blends
Performance-oriented halyards may incorporate Technora® or aramid fibers to further reduce stretch under heavy loads.
Common Halyard Replacement Mistakes
- Removing the old halyard before attaching a messenger line
- Using bulky knots that catch inside the mast
- Pulling too aggressively when resistance is encountered
- Using undersized replacement line
- Ignoring worn masthead sheaves
- Failing to inspect mast exit plates for sharp edges
Rigging Glossary
Bitter End: The working end of a line opposite the loaded end.
Halyard: A line used to raise and lower sails.
Masthead Sheave: Pulley located at the top of the mast that redirects the halyard.
Messenger Line: Temporary line used to pull a replacement line through a confined route.
Reeving: The process of passing a line through blocks, sheaves, or confined passages.
Reeving Eye: A splice specifically designed to facilitate pulling lines through rigging systems.
Standing Rigging: Fixed rigging components such as shrouds and stays that support the mast.
Running Rigging: Adjustable lines used to control sails and spars.
Frequently Asked Questions
Can I replace a halyard without a messenger line?
It is possible but not recommended. Without a messenger line or direct connection to the replacement halyard, the route through the mast can be lost, making installation significantly more difficult.
How often should halyards be replaced?
Replacement intervals vary based on use, UV exposure, load cycles, and material. Active sailors should inspect halyards annually and replace them when significant wear becomes visible.
What causes halyard wear?
Common causes include UV exposure, friction around masthead sheaves, clutch wear, winch loading, chafe, and repeated bending under tension.
Can Dyneema halyards replace polyester halyards?
In many applications, yes. Dyneema provides significantly lower stretch and higher strength, though proper sizing and clutch compatibility should be verified.
Why are reeving eyes preferred over knots?
A reeving eye creates a smaller, smoother profile that passes more easily through internal mast hardware and reduces the risk of snagging during replacement.
Mark Chandler, West Coast Grand Prix & OEM Manager, has more than 40 years of sailing and racing experience spanning one-design, offshore racing, multihulls, ULDBs, and cruising sailboats. He has spent more than a decade helping sailors select and install rigging systems for boats ranging from recreational cruisers to competitive race programs.